
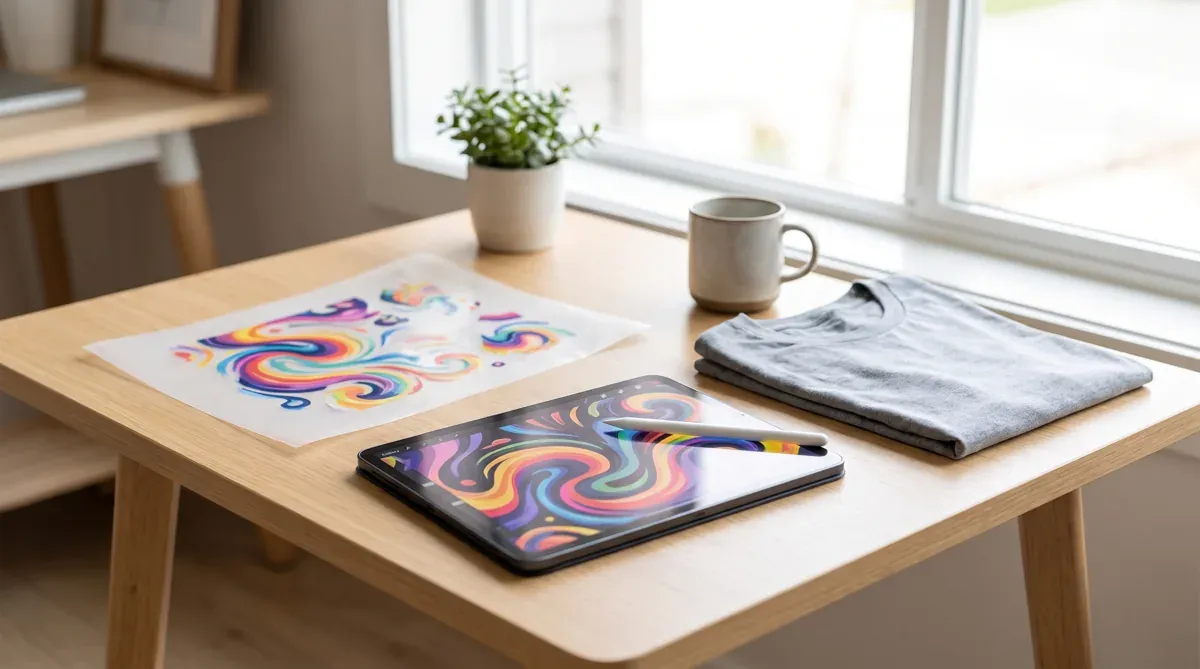
Great DTF prints start with great files. A few minutes of artwork prep is the difference between a sharp, vivid transfer and a blurry, washed-out one. Here’s how to set yours up.
Use high resolution
Aim for 300 DPI at the actual print size. If your design will print 10 inches wide, the image should be about 3000 pixels wide. Enlarging a small, low-resolution image makes edges soft and blocky — start big rather than scaling up.
Use a transparent background
Save your art as a transparent PNG so only your design presses onto the garment, not a white box around it. Don’t have a transparent file? Our online designer can remove the background for you before you order.
Mind the colors
- Bright, saturated colors reproduce beautifully in full color.
- Very light or near-white elements still print thanks to the white underbase.
- Keep important detail away from extreme highlights and shadows so it doesn’t get lost.
Avoid tiny text and hairlines
DTF holds fine detail well, but extremely thin lines and very small text can break up. Bump up small type, thicken delicate strokes, and preview your design at its real size.
Best file types
| File type | Good for DTF? | Notes |
|---|---|---|
| PNG (transparent) | Best | Preserves edges and transparency |
| Great | Vector stays crisp at any size | |
| JPG | OK | No transparency; can show compression |
| WEBP / GIF | OK | Fine if high resolution |
Quick checklist
- 300 DPI at final print size.
- Transparent background (PNG) or vector (PDF).
- No tiny text or hairline strokes.
- Cropped tight to the design.
Ready to go? Upload your design, pick a size, and we’ll ship in 48 hours. Then learn how to apply your transfer.